

Creating realistic asphalt textures for scale models is an art form in its own right. When working on what grit sandpaper looks like 1/64 scale asphalt models—like small die-cast cars or miniature dioramas—replicating the rough, gritty texture of asphalt can significantly enhance the authenticity of your projects. But here’s the big secret: one of the simplest tools for achieving realistic results is grit sandpaper.
Whether you’re new to scale modeling or looking to refine your techniques, this guide will walk you through everything you need to know about grit sandpaper and its impact on 1/64 scale asphalt modeling. By the end, you’ll have the knowledge and inspiration to elevate your work to new levels of realism.
What is Grit Sandpaper?
Before we jump into asphalt texturing, it’s important to understand what grit sandpaper actually is and how it works.
Grit Size Explained
Grit sandpaper is an abrasive tool made from particles adhered to a backing material, and it’s graded by the size of those particles. The size (referred to as “grit”) determines how coarse or fine the sandpaper is. Here’s a quick breakdown of grit sizes and their uses:
- Low Grit (40–80): Coarse sandpaper used for heavy material removal.
- Medium Grit (100–180): Ideal for smoothing rough surfaces.
- High Grit (220–400+): Very fine sanding great for polishing and finishing.
The higher the grit number, the finer the sandpaper. For asphalt modeling, the grit size plays a critical role in mimicking the texture of real asphalt on a 1/64 scale.
Sanding and Material Removal
When used on modeling materials like foam boards, plastic sheets, or painted surfaces, grit sandpaper helps shape and refine textures. The key is matching the grit size to the level of detail you want in your asphalt surface.
Why Grit Sandpaper is Vital for Asphalt Modeling
When you observe real asphalt up close, you’ll notice its surface is uneven and dotted with small bumps, pits, and rough patches. Grit sandpaper allows you to replicate these imperfections on a much smaller scale.
For 1/64 scale modeling, this attention to detail is essential. Whether you’re building model car racetracks, parking lots, or urban dioramas, the right texture can bring your project to life. Flat, featureless “roads” simply won’t cut it for today’s discerning hobbyists. Grit sandpaper:
- Creates a believable rough texture for asphalt surfaces.
- Ensures your models feel realistic to the eye and touch.
- Helps you control the overall finish, from freshly paved to worn and weathered.
Types of Grit Sandpaper for Asphalt Texturing
Choosing the right grit sandpaper is one of the most important decisions you’ll make during your project. Here’s a quick guide to common grit options and their effects on 1/64 scale asphalt textures.
Best Grit Sizes for Asphalt Effects
- 80–120 Grit (Coarse): Use this for creating a heavily weathered, rough asphalt look. Great for depicting cracked or damaged road surfaces.
- 150–220 Grit (Medium): Perfect for adding smaller, finer bumps that resemble newer asphalt. This is the go-to grit range for most modeling enthusiasts.
- 300+ Grit (Fine): Works best for lightly scuffed or freshly paved road textures. Achieves a smoother finish with minimal roughness.
Top Picks for Beginners
If you’re just starting with asphalt texturing, begin with a mid-range grit (around 150–180) for a versatile texture, and experiment from there.
How to Use Grit Sandpaper for Asphalt Texturing
Using grit sandpaper is a straightforward process, but achieving professional results requires careful attention to detail. Follow these steps to bring your 1/64 scale asphalt to life.
Step 1: Prepare the Base
Start with a flat surface like foam board, styrene, or MDF (medium-density fiberboard). Paint it with a flat black or dark gray base coat to create the foundation for your road.
Step 2: Select Your Sandpaper
Choose a grit size based on the desired asphalt texture. For general purposes, medium grit (150–220) works well.
Step 3: Apply Light Pressure
Using gentle pressure, rub the sandpaper over the surface in circular or linear motions. Avoid pressing too hard, as this can damage your model or create unrealistic patterns.
Step 4: Layer Your Textures
For a more complex road surface, layer different grit sizes. Start with a coarse grit to add depth, then use a finer grit for subtle texturing and finishing.
Step 5: Add Finishing Touches
Dust off the surface and apply a matte sealant to enhance the texture and protect your work. For added realism, consider painting cracks or adding weathering effects.
Visual Guide: See the Difference Grit Sandpaper Makes
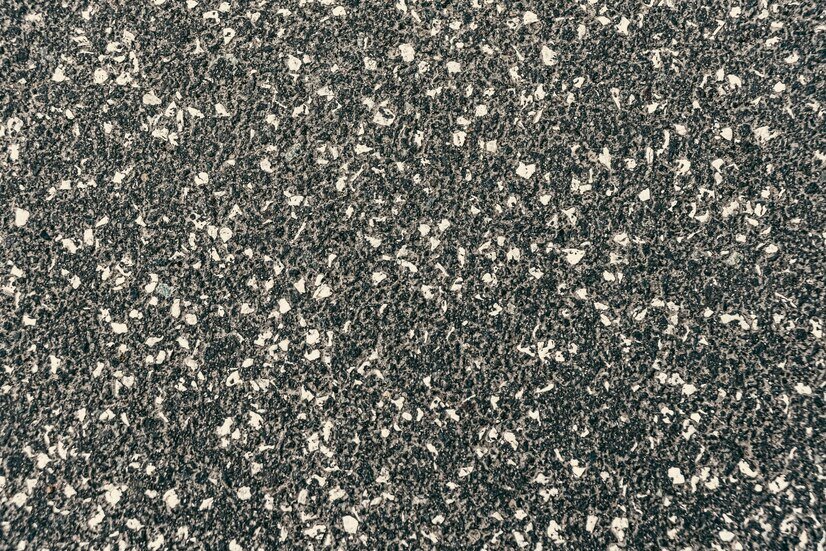
Images speak louder than words! Here’s a visual guide illustrating the effects of different what grit sandpaper looks like 1/64 scale asphalt surfaces.
- Image 1: Smooth, fine texture (300 grit).
- Image 2: Medium bumps for newer asphalt (150 grit).
- Image 3: Coarse, worn-out texture (80 grit).
Notice how each level of grit drastically changes the road’s appearance and feel.
Tips and Tricks for Realistic Asphalt Textures
Want to take your modeling skills even further? Check out these expert tips for achieving professional-grade results.
- Use Multiple Grains: Combine coarse and fine grits to replicate layers of wear and tear.
- Experiment with Paints: Use dry brushing techniques to add highlights and shadows that mimic sunlight and wear.
- Avoid Symmetry: Real asphalt isn’t perfect—randomize your sanding patterns for a more authentic look.
- Test First: Always test your sandpaper on a scrap piece before applying it to your main model.
Bring Your Scale Roads to Life
Grit sandpaper is a game-changer when it comes to achieving realistic asphalt textures for 1/64 scale models. By mastering the art of sanding and selecting the perfect grit size, you can elevate your scale modeling projects to professional-quality levels.
Now it’s your turn to experiment! Grab a few sheets of sandpaper, apply these techniques, and watch your scale models come to life with authentic road textures.
